Does Formfacade support pre-filled survey links like native Google Forms?
"is there any option to pre-fill the cells like google form prefilled links in formfacade?"- Support forum
This is a common question from Google Forms users who already use Google's pre-filled links. For example, if a visitor picks a product on your website and then opens your enquiry form, they should not have to type that product again or you get enquiries you cannot match. Google's pre-filled link fills it in, but it opens Google's own form page, so the visitor leaves your website. Yes, Formfacade supports pre-filled forms just like native Google forms and your visitor will see the product already filled in, right on your website. Even better, it uses the same url parameters as Google's link and the responses are collected on your Google Forms.
Let's start. Create your form and follow the steps below.
How to create a prefill link in Formfacade?
- On the page that opens, name your form, click Build form and click Proceed. It can take about a minute.
- You will land on the form's "Preview" tab.
- Click on "Share" tab

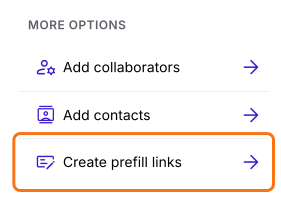
- Click Create prefill links under More options
- Click + Create new prefill
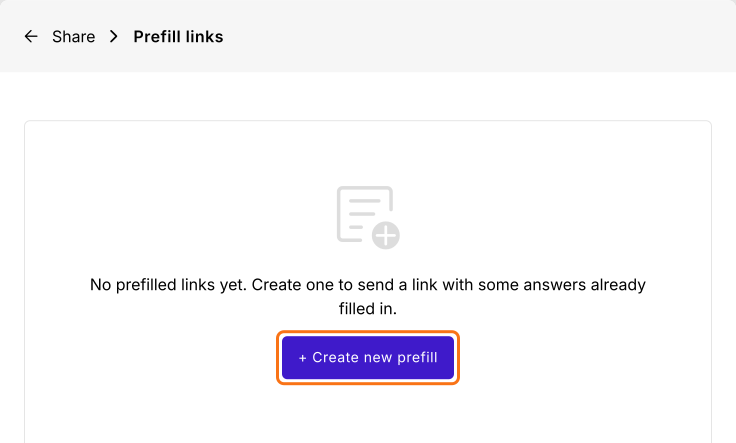
- Enter the Link name, fill in the answers and click Create prefill link. The dialog's note says that email and name are replaced by the contact's details when an email is sent. On this link, they stay as you typed them.
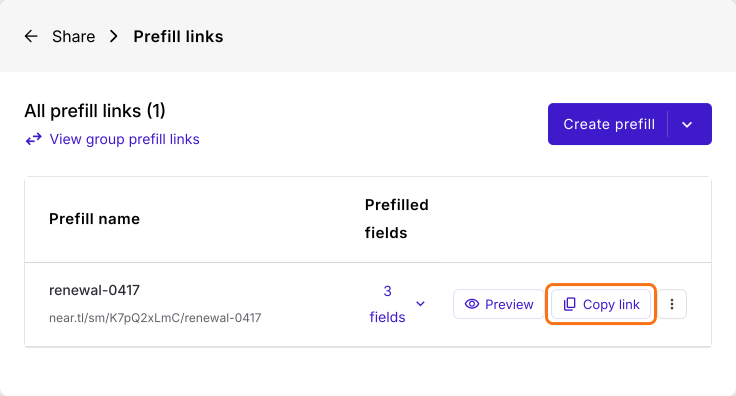
- Click Copy link
How to use the url parameters of Google Forms?
You just have to copy the same url parameters of Google Forms prefill url and use it in the webpage that embeds the Formfacade form or append it to the Formfacade share link for sharing the forms based on your needs. The pre-fill option can be used to prefill the same information for all users or different information for different users.
- Click on the form's title, click on the ⚙️ icon, select the "Advanced" tab and click Launch next to "Edit this form with Google Forms". Google Forms will open in a new tab
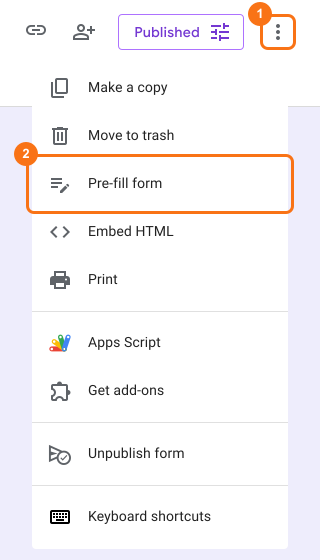
- In Google Forms, click on the "More" icon

Click on "Pre-fill form" option
Pre-fill responses for the necessary fields and click on "Get link" button
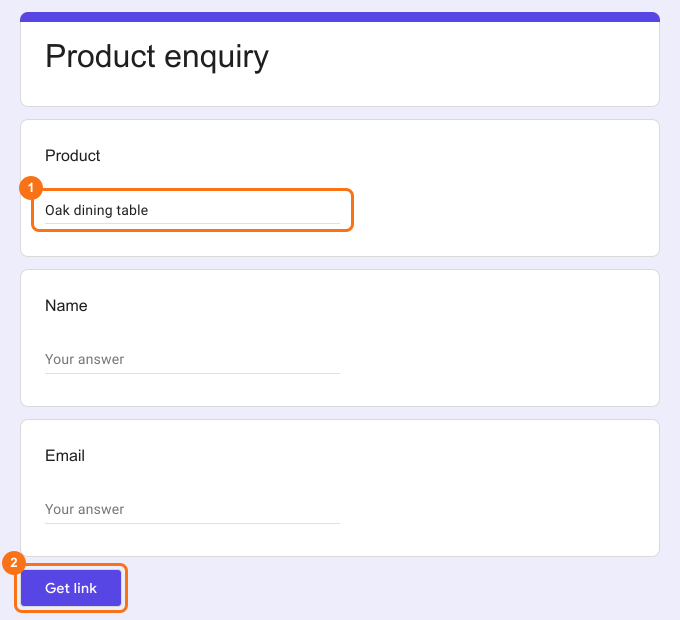
Click on "COPY LINK" and paste it in a notepad
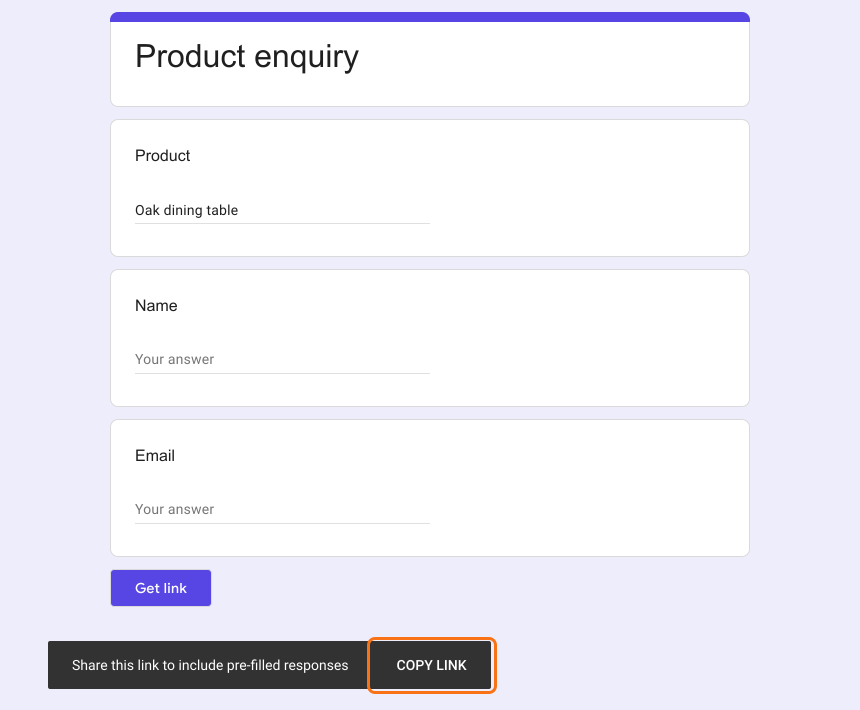
Copy the Google Form pre-fill parameters in the generated url
Append the above url parameters to the webpage url that embeds the form
For example, link each product's button to yourwebsite.com/enquiry?usp=pp_url&entry.952729137=Oak+dining+table and visitors will see the form on your webpage with the product already filled in.
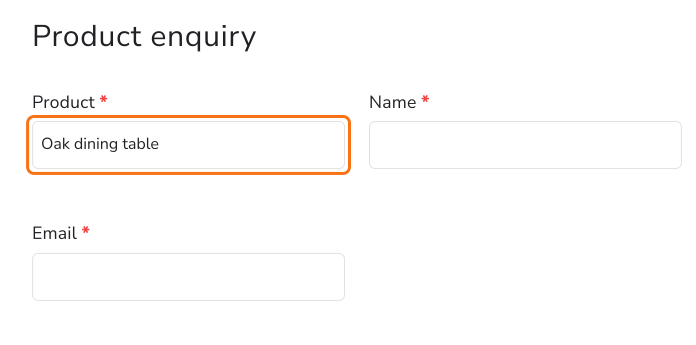
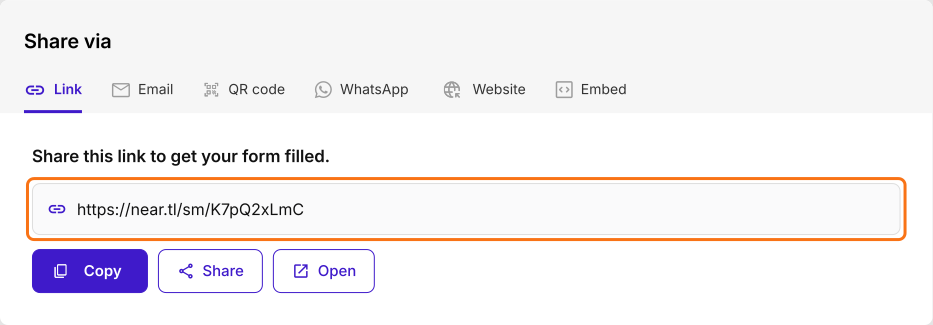
Or, append the url parameters to the Formfacade share link
Summary
If a visitor picks a product on your website, your form should already name it and the Google Forms prefill url takes them off your website to do that. With Formfacade, you can create a prefill link in the Share tab or append the same url parameters to the webpage url that embeds the form or to the Formfacade share link and the form opens with the answer filled in. Create your form and complete the steps above. If you have any questions, write to support.
Last updated: